Gaming
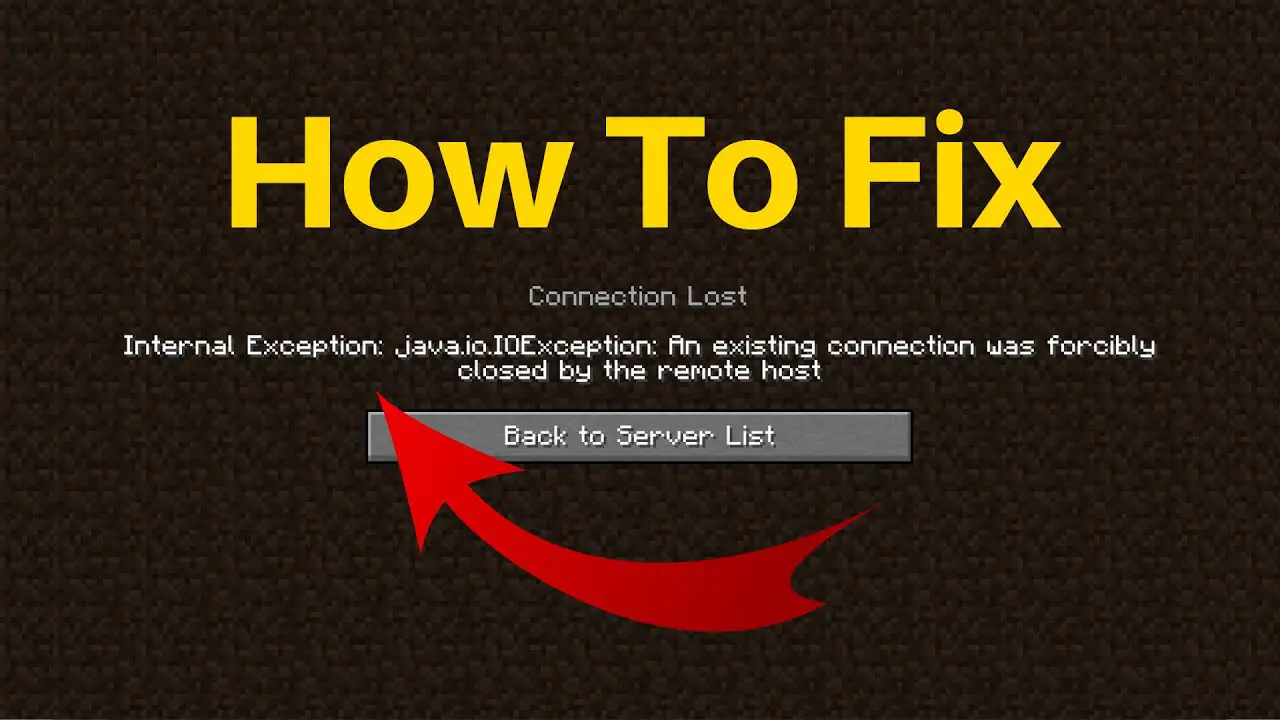
Fix Internal Exception: Java.IO.IOException in Minecraft
Many Minecraft players encounter these issues when they attempt to start the game. As a result, they’re not able to participate in the game.
Connection Lost, Internal Exception: java.IO.IOException: An existing connection was forcibly closed by the remote host.
In this post, we’re going to explore ways to solve this issue using simple and simple solutions. If you’re experiencing an Internal Java.IO.IOException Java.IO.IOException Minecraft problem then this guide is ideal for you.
How do you fix Minecraft Internal Exception: Java.IO.IOException An existing connection was forcibly closed by the remote host?
Minecraft Internal Exception Error is generally a glitch or glitch that can be easily corrected with a few options. It could be caused by a slow Internet Connection.
If you’re using the Mobile Hotspot or some other type of connection with slow Internet and you are experiencing slow Internet, the odds are that you will not be able to connect with the server.
If the problem is because of a bug, the only solution is to wait until you are using the Minecraft developer to release an update. If the issue is a glitch, you must check the solutions that we’ve listed below to fix the problem.
Fix Internal Exception Java.IO.IOException Minecraft problem
To fix the Internal Exception Java.IO.IOException Minecraft error, you must follow the solutions below.
- Restart your computer
- Update Minecraft
- You can ask Admin to reboot the server
- Renew IP and flush DNS
- Disable the Server’s Resource Pack
- Troubleshoot Clean Boot
- Verify your Internet Connection
- Repair Java
Let’s talk about these in more detail.
1. Restart your PC.
Let’s begin with the simplest of solutions. The process of restarting your PC has been successful for many users because it restarts the entire process that was in operation earlier and it also shuts down all unnecessary processes. Also, restart your computer and test if the issue persists.
2. Update Minecraft
Update Minecraft is a good way to take care of two birds in one shot. It’s not just going to remove the bug that may have been responsible for the issue however, simultaneously it will ensure that your client’s application match that of the server you’re seeking to connect.
Since you aren’t connected to the server if there’s an inconsistency between the versions of the app you and the server are running.
To upgrade Minecraft You must follow these steps.
- Minecraft. Open Minecraft.
- Go to the Optionsfrom on the Login page.
- Click Force update! > Apply.
You must wait for the update to be installed before determining whether it can fix the problem.
3. 3. Ask Admin to start the server.
The issue could arise because of a problem with the server. Contact the administrator of the server and request that they reboot the server. Only they are the people with the authority to reboot the server. Therefore, try it and then see if the problem persists.
4. Renew IP and Flush DNS
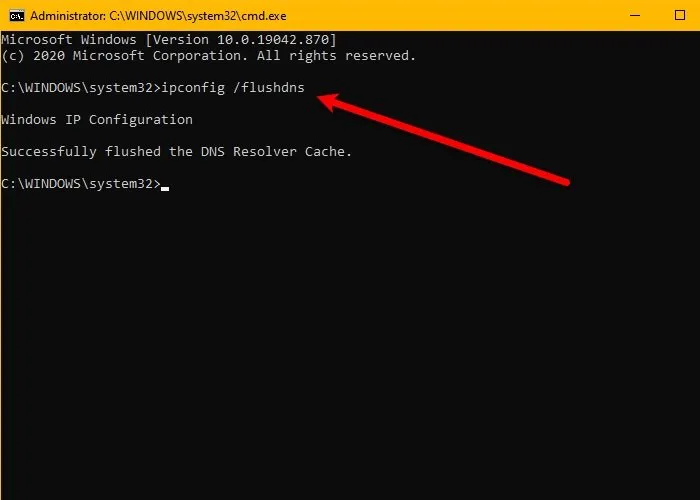
The problem could be because of corrupted DNS or IP addresses. The good news is that you can quickly clean DNS and Renew IP and determine if this solves the problem. To do this, start the Command Prompt as an administrator on the Start Menu, and then execute the below commands.
ipconfig /flushdns

ipconfig /release

ipconfig /renew
Then start your system, then reopen Minecraft and check if that will resolve the issue.
5. Disable the Server Resource Pack
Many gamers prefer to download the Resource Packin to give a bit of flair to their game. It lets you add texture, music, and many other things to make the game more enjoyable. However, sometimes, it will block players from connecting with the server.
Therefore, this issue could be due to that exact reason. We’re going to turn off the server’s Resource Pack and then see how it affects.
- Minecraft Launch Minecraft.
- Visit the Multiplayer.
- Navigate to the problematic serverand select Edit. edit.
- Then Click to disable Server Resources Packs and disable it.
Check if the issue persists.
6. Troubleshoot Clean Boot
Sometimes, another application could cause frustration. We don’t really need to know what the app is. Therefore, you must try troubleshooting using Clean Boot and see what application is causing problems with your application. You can then determine what you can do about it.
7. Verify your Internet Connection
Discussion about a problem that prevents your connection to the server without verifying your Internet Connection is an unwise choice. Use the Internet Speed Checker and see whether you’re getting enough bandwidth.
If not, make sure that all devices connected to the same network are receiving similar speeds. If you find that yours is the only device experiencing slow Internet and you’re not sure, try fixing the slow Internet.
8. Fix Java

You may have seen after you saw that error warning, this problem is related to Java. Therefore, try to update Java and check if it works. To do this follow the steps below.
- Select Windows + S and type ” Configure Java”and click OK.
- Visit Update tab. update tab.
- Click to to update now.
So, your Java is updated. check if the issue is still there.
That’s it!


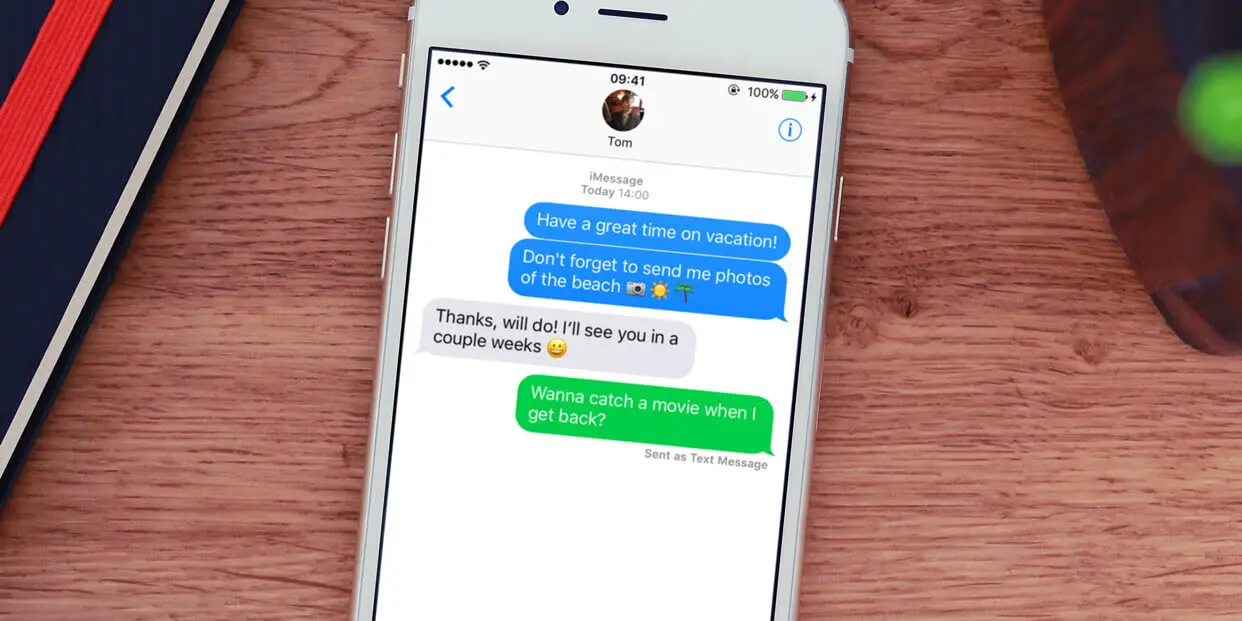
Why Did iMessage Turn Green Explained!
You may have noticed that text messages in the Messages app on your iPhone can be green or blue. What’s...

How To Fix Microwave Interferences With WiFi
Are you experiencing constant WiFi problems with interference? Your microwave could be your culprit! Repairing microwave interference in the WiFi signal...
How To Fix This Webpage Is Not Available Error In Google Chrome
This page isn’t accessible is among the most frustrating problems on Google Chrome that many internet users are facing. If this error...

What is Android System WebView? Should You Delete it?
You may have encountered the Android System WebView when you were updating your apps in the Play Store. It is possible that...
How To Fix System Thread Exception Not Handled Error
A helpful step-by-step guide to assist you in fixing the System Thread Error Not Handled error in Windows OS. If you are...
-
Explained7 months ago
Why Did iMessage Turn Green Explained!
-
 List7 months ago
1337x Proxy List For 2022 [100% Working 1337x Mirror Sites]
-
 How Tos7 months ago
How To Get A Specific Phone Number for yourself?
-
 List3 years ago
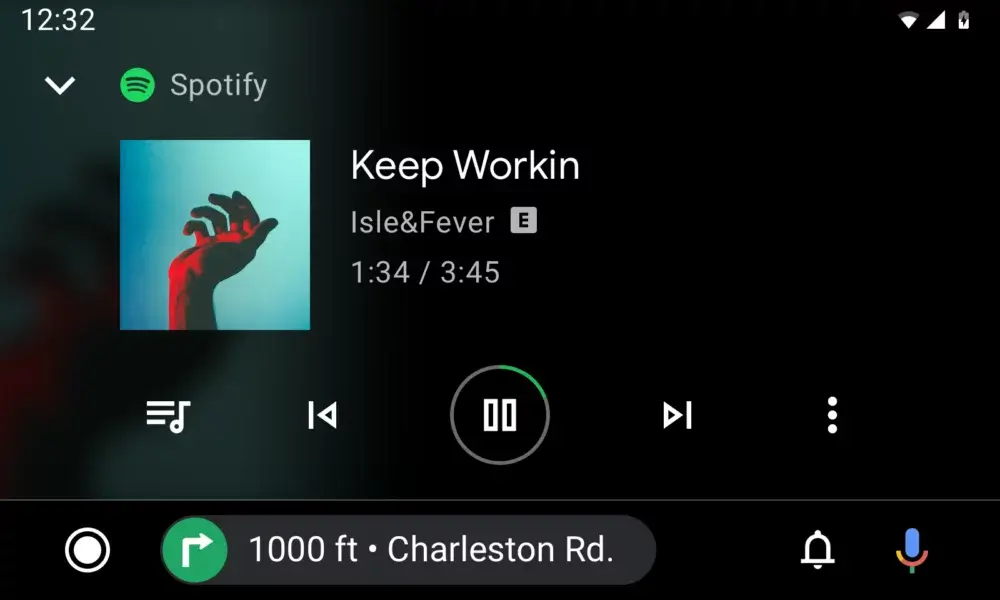
11 Best Music Players for Android Auto
-
Explained7 months ago
What is Android System WebView? Should You Delete it?
-
 Explained7 months ago
How Can Monitors Be Connected By USB? (Explained)
-
How Tos7 months ago
How To Fix This Webpage Is Not Available Error In Google Chrome
-
 Gaming7 months ago
Neal Fun Spend: Spend Bill Gates and Elon Musk Money