How Tos
[Solved] “No Internet secured” Wi-Fi Problem In Windows
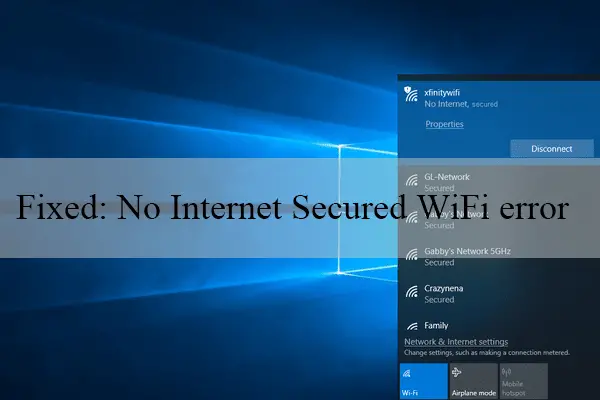
Sometimes, you’ll fail at connecting to the Internet shortly after the update, you’ll receive an error message such as You are not connected to the Internet secured showing on the screen. It’s possible to notice that WiFi is properly connected however, the browser fails to load web pages. Some users have reported this issue. Windows 10 laptop WiFi is connected to at the moment when this happens. It will always show ” no Internet secured” meaning the Internet connectivity was not accessible. Reconnecting the device helped in some cases but not always.
Most of the time is that this error may result from insufficient IP settings. Perhaps something has changed in the network configuration settings. Here are some possible solutions you could try to correct this problem. Internet securederror. Internet secure error for Windows 10, 8.1, and 7.
There is no Internet Windows 10
There are several solutions to this issue However, restarting network devices including your laptop is recommended to correct the issue if a temporary glitch is causing the problem.
Additionally, we suggest connecting your phone with the WiFi connection in order to test the functioning of your internet connection. If your internet connection is functioning, Fallow the steps below to solve the issue. If you find that the Internet is not working on a different device, contact your ISP with support.
Sometimes, your antivirus software could block the internet connection. So, turning it off may solve the problem for you. Also, try to deactivate VPN (if installed by your phone).
Reconnect to the WiFi network
Let’s ignore the current connection and connect back to your Wifi network by following the steps listed below.
- Right click onto your WiFi connectivity (in the Systems Tray) and then click “Forget”.
- Connect again with the proper credentials and verify WiFi is connected and internet connection is functioning properly.
Also, check also the Auto configuration settings for WLAN’s service status. start the service if it is not working.
Start the windows services console by using services.msc Scroll down and find services named DNS client, DHCP TCP/IP NetBIOS Helper, SSDP Discovery, UPnP Device Host, and then start these services. If you aren’t sure how to begin the services, then this guide is the article for you.
- Select any service , then double-click it. Choose Automatic next to the Startup type.
- Click Apply, and then click Start to begin the process.
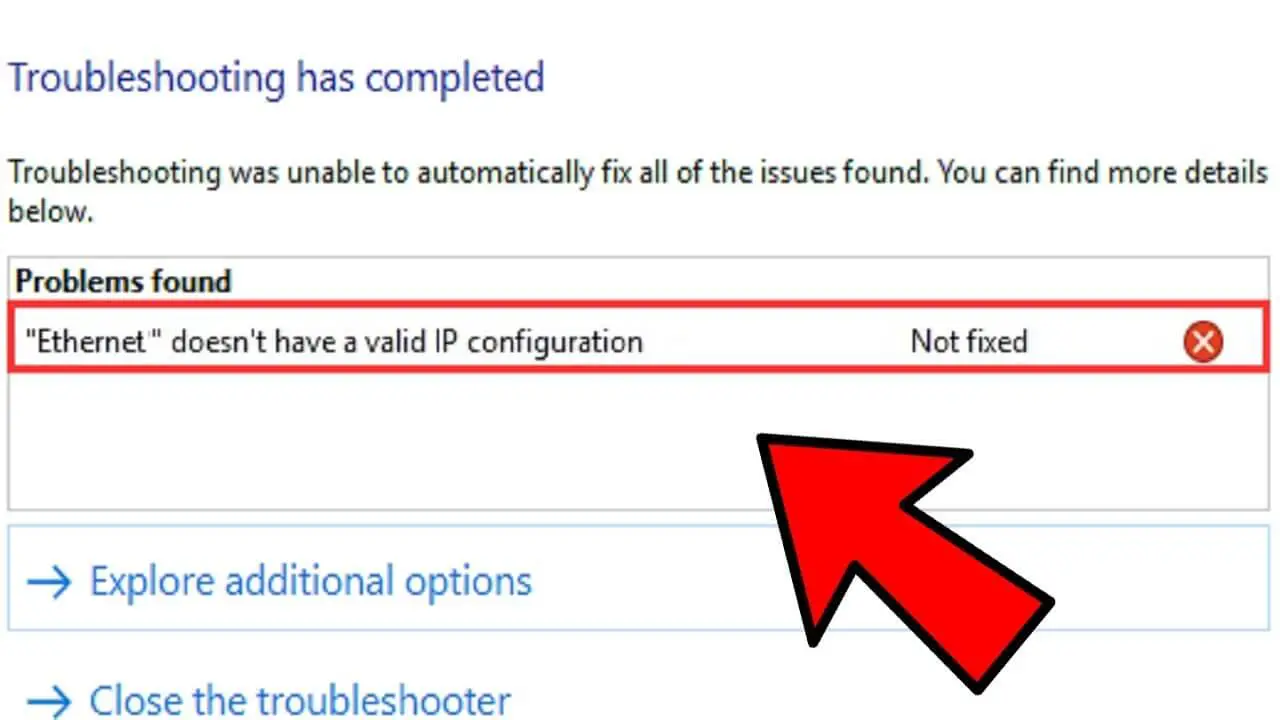
Run Network Troubleshooter
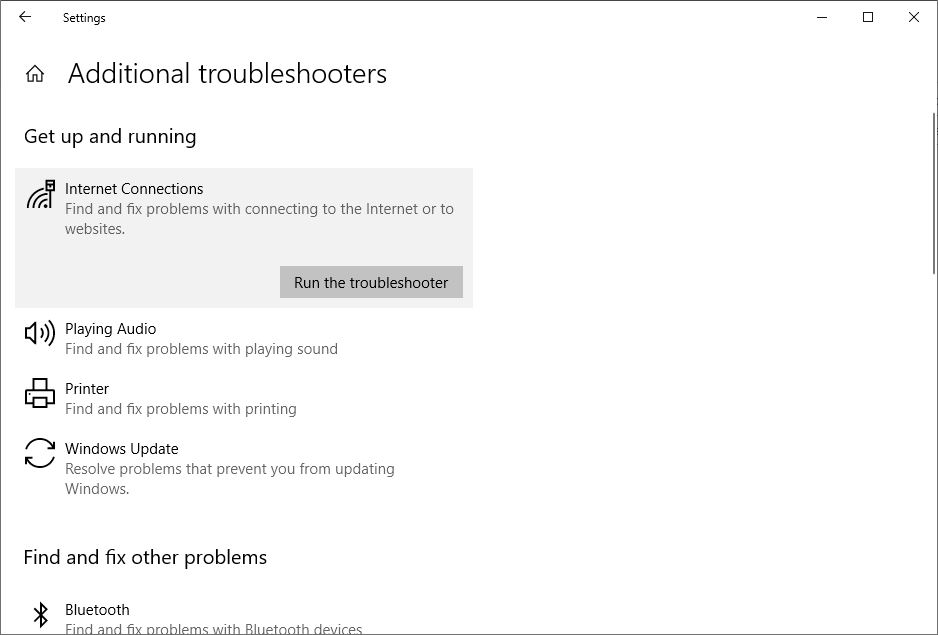
Windows 10 has a built-in troubleshooting tool that can diagnose and allow users to identify the issues that you’re experiencing on your network. Use the troubleshooter to allow Windows to detect and repair the issue itself.
- Click the Windows + keystroke and choose the settings
- Click Update and Security, and then Troubleshoot
- On the right side you can find Internet connections. Click it
- Click Run the Troubleshooter to begin the diagnosis process.
- The next step is to identify the network adapter and then run the troubleshooter which determines and resolves the issue by ensuring that the driver for your network adapter is compatible and many more.
- After the diagnostic process has been completed, restart your computer and see whether this has helped fix the issue.
Reset TCP/IP configuration
Run the command prompt while having administrator privileges and then run the following command one after one.
- netsh winlock reset
- netsh int ip reset
- IPconfig/release
- ipconfig /renew
- ipconfig /flushdns
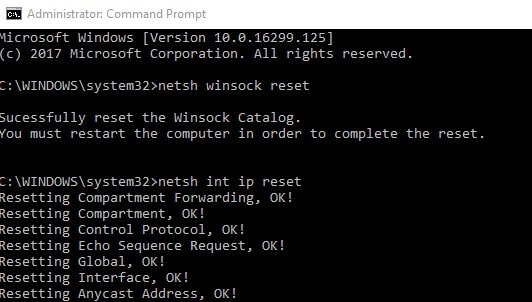
Enter Exit to close the command prompt. Restart Windows to check Internet has started to work.
Manually set up DNS address manually.
- Click Windows + R and enter ncpa.cpl and ok to open the window for network connections.
- Right-click the Active network adapter ( Ethernet/WiFi ) select the properties.
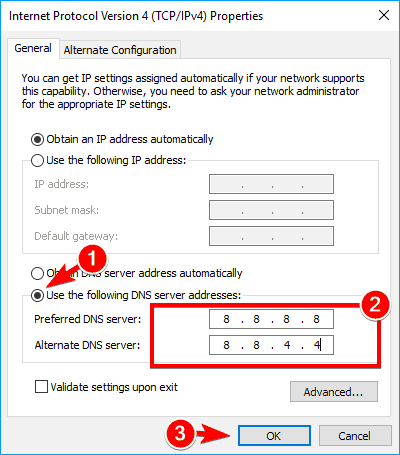
- Simply click Internet Protocol Version four ( TCP/IPv4 ) to view its properties.
- Click here to select the radio button. to automatically obtain an IP address and click DNS address Choose the radio button and use the DNS server addresses below.
- Create your preferred DNS Server 8.8.8.8 in addition to Alternate DNS server 8.8.4.4.
- Check the box to validate settings at the exit, and then click OK to save your modifications. After restarting windows, check Internet connection to return to normal functioning state.
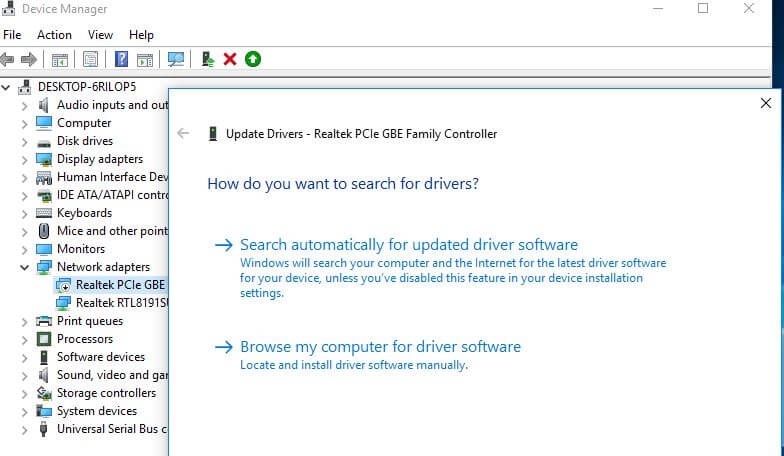
Update Network Adapter driver
Also, there’s a chance the driver is outdated and could prevent you from getting connected to the Internet. We should make sure that we update your WiFi adapter driver to the most recent versions.
- Use the Windows + the keyboard shortcut, and then select Device Manager,
- Expand Network adapters
- Find the network adapter your computer currently uses in the section Network adapters. right-click and select the Update button. Driver Software ….
- Simply click on Search automatically to search for the latest driver software. Wait for Windows to complete the search.
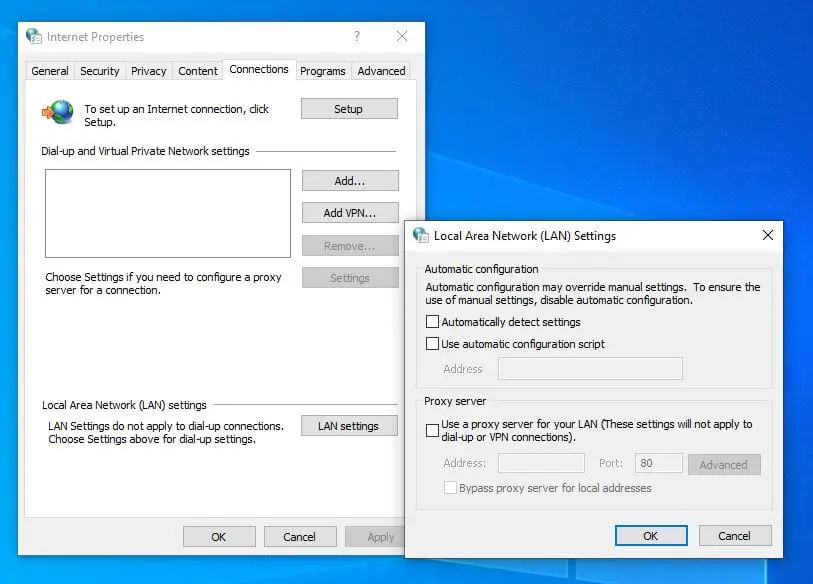
Disable proxy settings
Another solution is to resolve the majority of the internet connection issues.
- Click Windows + R Type inetcpl.cpland click ok,
- This will bring up to the Internet Options window,
- Then, go on the Connections tab, select LAN settings.
- Check you have “Automatically identify settings” is checked , and “Use a proxy server to connect to the LAN” is checked off.
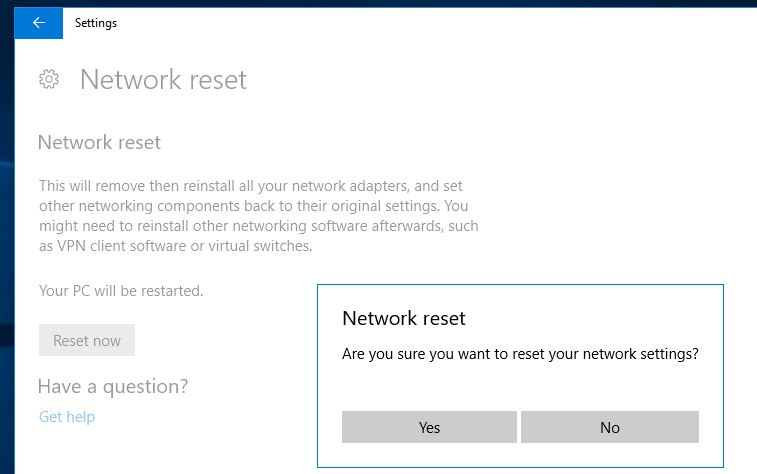
Network Reset
Windows 10 offers a network reset feature that can reset the network configuration back to default settings. It is likely to be very useful should an incorrect configuration be the cause of the problem.
- Find Network Reset and select the first result.
- An additional window should appear informing you of what is going to take place when your network.
- Select on the ” Reset now” button to reset your network and restart your computer.
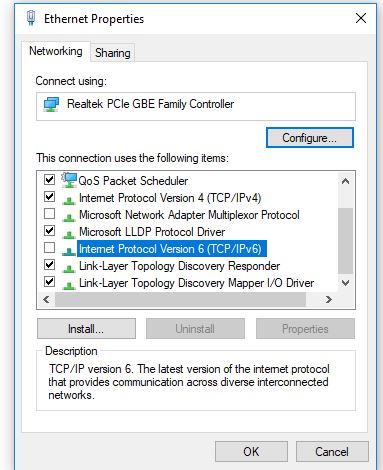
Disable IPv6
- Open the network connections window by using ncpa.cpl
- Then, right-click the wireless network you are connected to and select “properties”
- Remove the checkmark for Internet Protocol Version 6, (TCP/IPv6) to turn it off. Click OK
Change the power management properties
Another cause for an explanation for the “no Internet, secured” error could be related to the power management settings.
- Use the Windows key + X select the device manager
- Expand network adapters, double-click your wireless network , then navigate to “power management” tab.
- Remove on the “allow for the device to shut down this device to conserve energy” option.
- Restart your computer , and then check whether you are able to be connected to the Internet immediately.
These are some of the most effective solutions for fixing the no Internet Secure Wi-Fi Issue within Windows 10. I’m sure that you can apply these suggestions will solve the issue for you, and your internet will work just like normal. If you believe we’ve missed another method that could be helpful please let us know via the comment section.


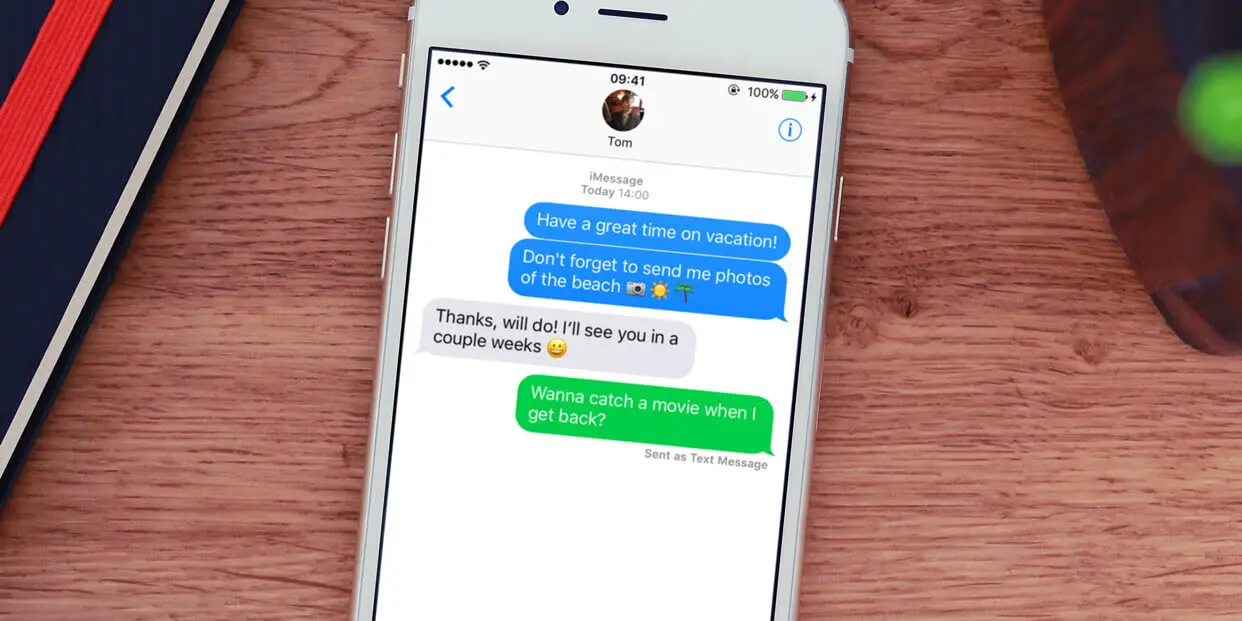
Why Did iMessage Turn Green Explained!
You may have noticed that text messages in the Messages app on your iPhone can be green or blue. What’s...

How To Fix Microwave Interferences With WiFi
Are you experiencing constant WiFi problems with interference? Your microwave could be your culprit! Repairing microwave interference in the WiFi signal...
How To Fix This Webpage Is Not Available Error In Google Chrome
This page isn’t accessible is among the most frustrating problems on Google Chrome that many internet users are facing. If this error...

What is Android System WebView? Should You Delete it?
You may have encountered the Android System WebView when you were updating your apps in the Play Store. It is possible that...
How To Fix System Thread Exception Not Handled Error
A helpful step-by-step guide to assist you in fixing the System Thread Error Not Handled error in Windows OS. If you are...
-
 List7 months ago
1337x Proxy List For 2022 [100% Working 1337x Mirror Sites]
-
Explained7 months ago
Why Did iMessage Turn Green Explained!
-
 How Tos7 months ago
How To Get A Specific Phone Number for yourself?
-
 List3 years ago
11 Best Music Players for Android Auto
-
 Explained7 months ago
How Can Monitors Be Connected By USB? (Explained)
-
Explained7 months ago
What is Android System WebView? Should You Delete it?
-
How Tos7 months ago
How To Fix This Webpage Is Not Available Error In Google Chrome
-
 Gaming7 months ago
Neal Fun Spend: Spend Bill Gates and Elon Musk Money